
Masters

How to set up parties, projects, and vendors

Masters are the people and jobs you pick again and again. Add them once, then use them on invoices, income, and expenses.

01Step 1

Add a party (your customer)

Go to Masters → Party. Enter at least the name. Add address, PAN, and GST number when you have them—they help on the invoice and for your records. This same party list appears on sales, quotations, proforma, and income.

PartyMaster
Mehta Stores
  • NameRequired
  • Address / PAN / GSTOptional
  • Used onSales & income

02Step 2

Add a project when there is a site or job

If one customer has more than one job (for example two sites), add a Project under that party with a name and address. You can tag expenses to a project so costs stay with the right job.

TipProjects are optional. Skip them if you only bill by party name.
ProjectJob / site
Station Road site
  • Belongs toA party
  • AddressOn the job
  • Tag expensesKeep costs clear

03Step 3

Add vendors you buy from

Vendors are for purchases and expenses. Add a name, and optionally a vendor type, mobile, and address. Link a project if that supplier works only on one job.

VendorSupplier
Shree Cement
  • PurchasesYes
  • ExpensesOptional
  • Vendor typeGroup suppliers

04Step 4

Reuse them while you work

When you create a sales invoice, purchase, or expense, pick from these lists instead of typing names by hand. That keeps ledgers and party reports clean.

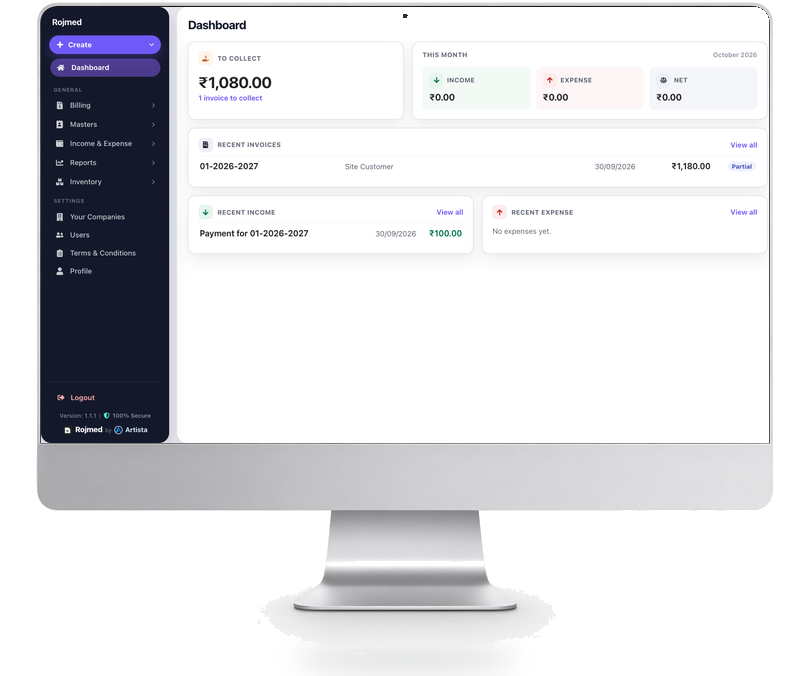
Rojmed app where masters are used while billing

Try these steps in your account.

14-day free trial · no card needed. Sign up, then follow the guide with your own business details.